Before & After: Boho Girls Room

I'm sharing another fun before & after post of a little girl's room I worked on! This was a really fun project because we used a lot of colors & textures, and designed an adorable gallery wall. 

Come tour the transformation!
 

Below is a "before" picture of the room. There were already some great furnishings and accessories to work with, but we wanted to give the room a finished, cohesive look with a new style.

before.jpg

After:

How cute are the initial letters and flowers above the crib? I bet any little girl would love these!

6.jpg

Before:

before4.jpg

After:

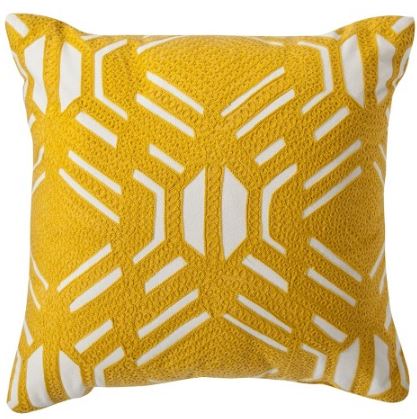
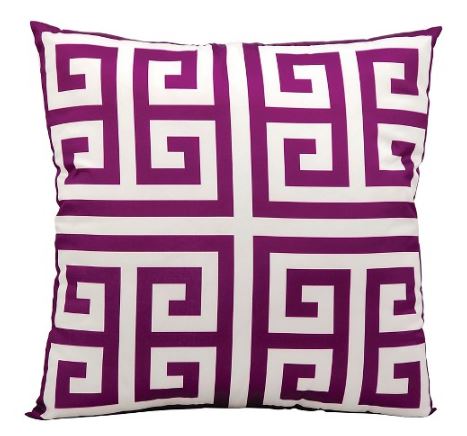
We designed a cozy reading nook using a bunch of pillows with different patterns & textures. We were going for a Bohemian/Hippie look with tons of color!

1.jpg
2.jpg

Before:

before6.jpg

After:

When you first walked into the room, there was a HUGE empty wall leading into the room. There was a lot of space to cover, so we went with a fun gallery wall with a mix of prints and accent pieces!

9.jpg

Before:

before3.jpg

After:

3.jpg

My client and I were so happy and excited about the room transformation! Click here to see the full gallery of this project.


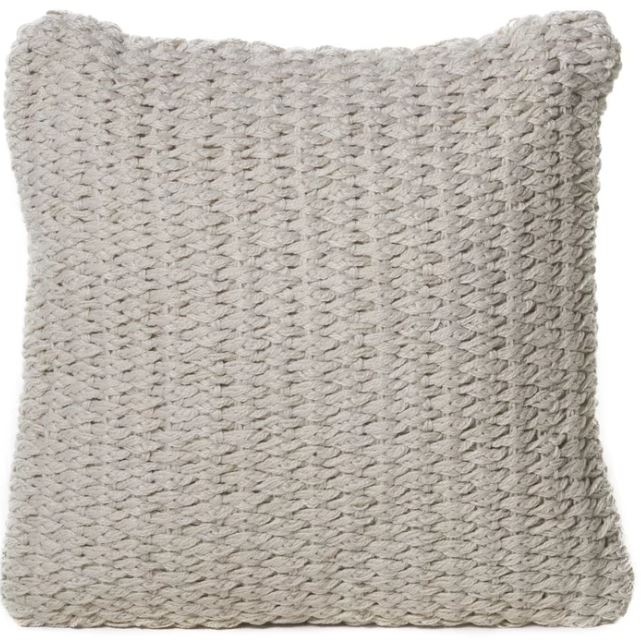
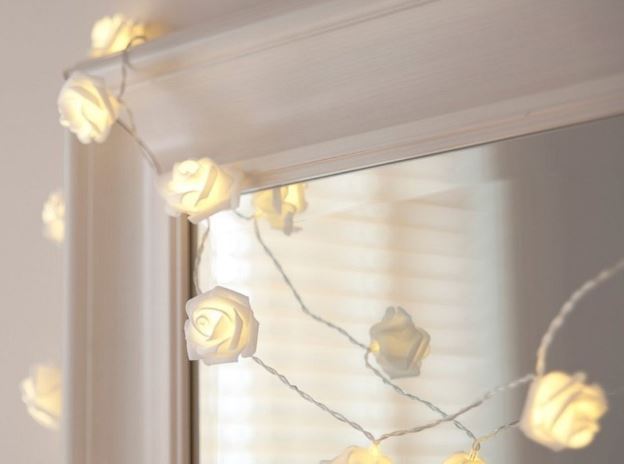
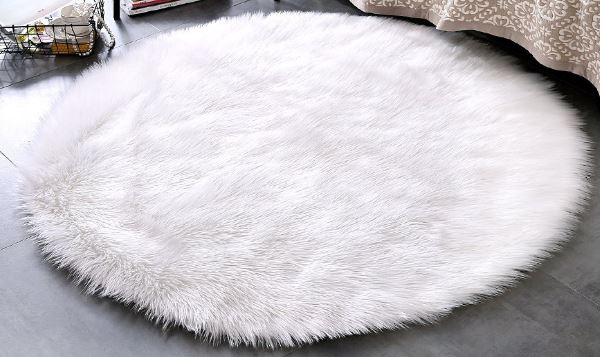
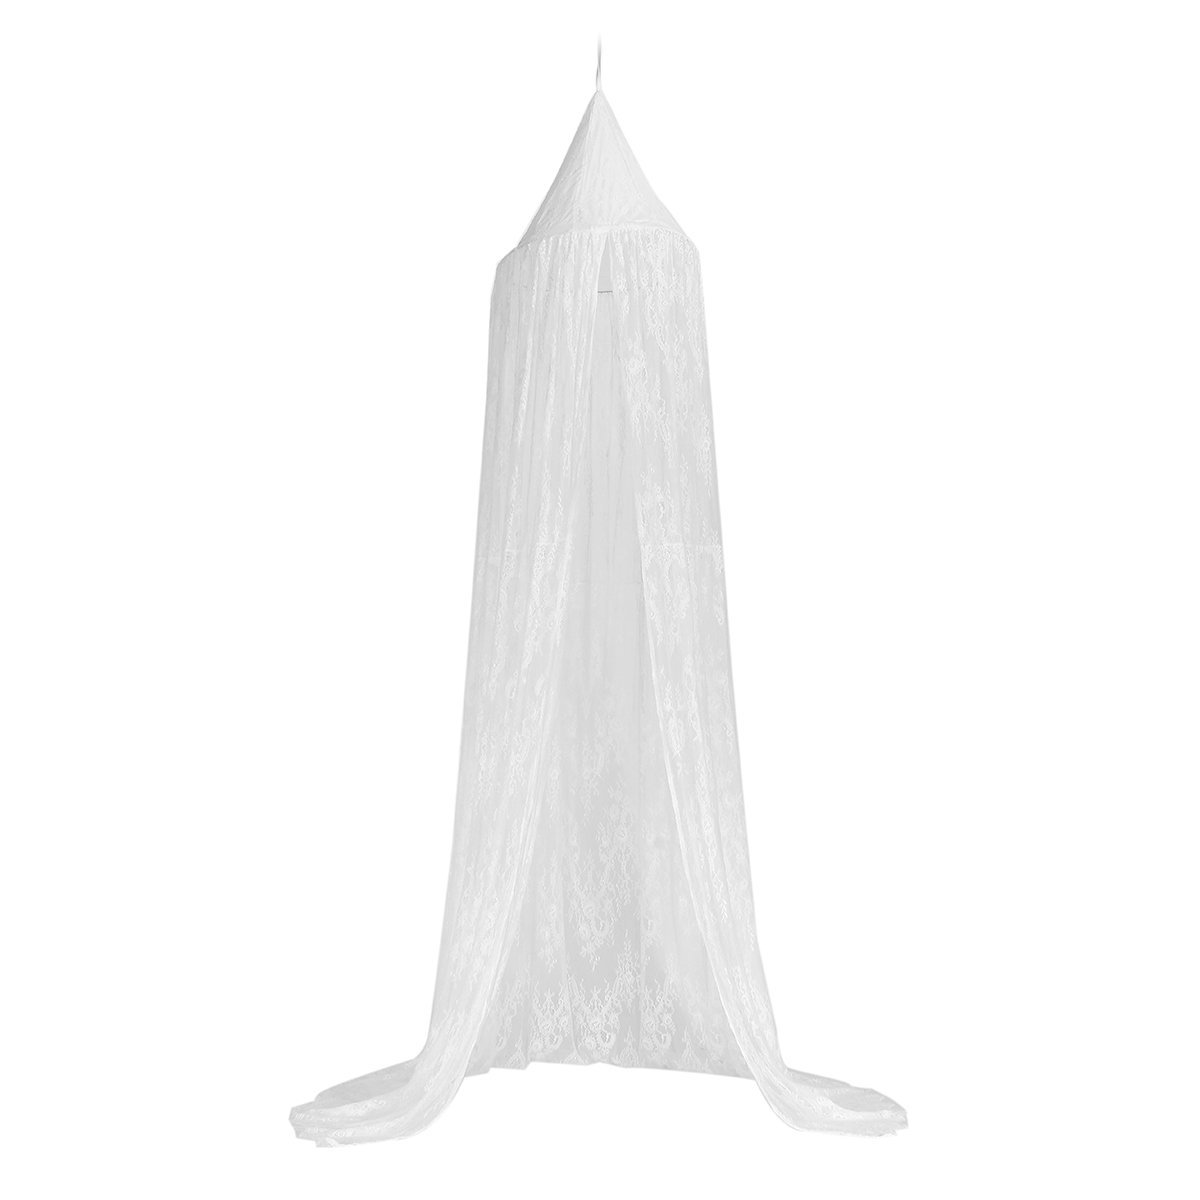
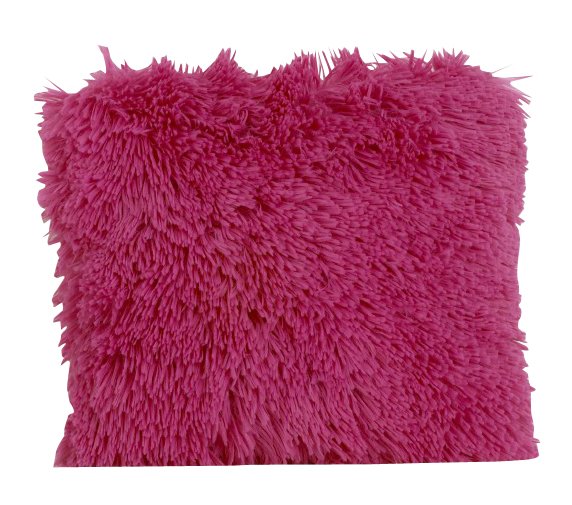
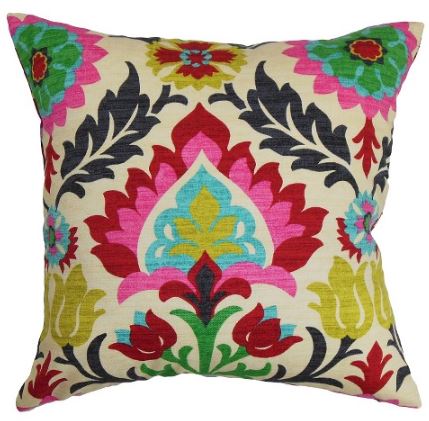
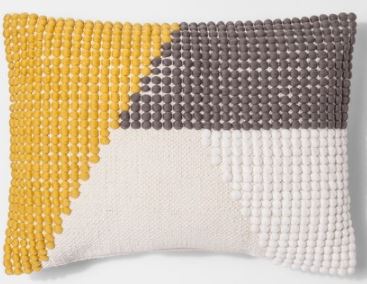
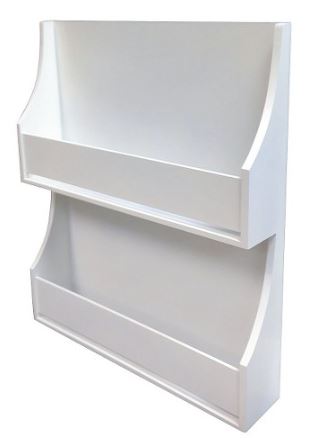
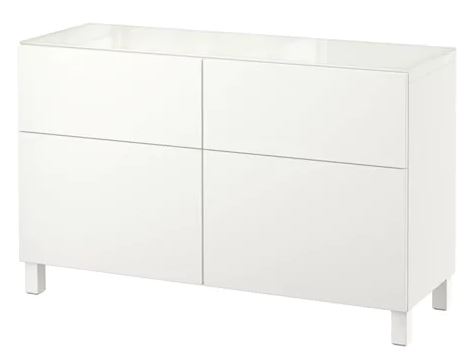
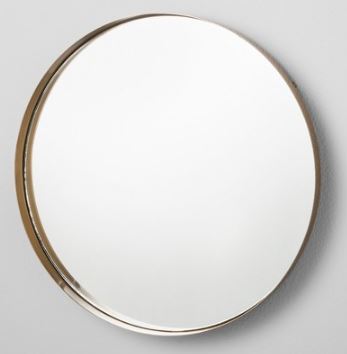
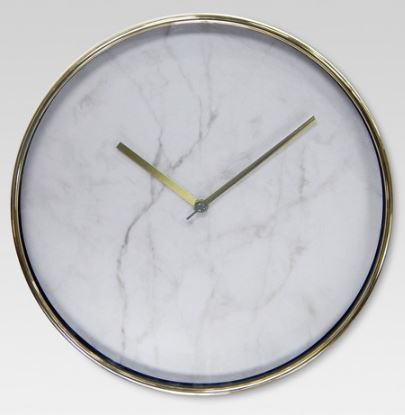
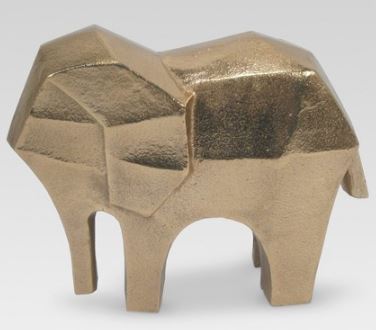
Shop the Look:

Before & After: Purple & Gold Office

I am so excited to share the before & after photos of a recent project I worked on! This was a really fun and rewarding project as it was for a busy working mom who wanted to makeover her home office but didn’t have the time to do it on her own. The office is the first room you see when you walk into the house, so I wanted to make sure it made a statement and caught people’s eye.

Come tour the transformation!
 

Below is a "before" picture of the office. The room was dark and didn't provide a motivating work space. We wanted to brighten up the room and create a more functional space!

1.5.jpg

After:

Now, the room is so much brighter! We replaced the old furniture with a new desk & chair, new rug, a storage credenza and shelving - the room looks completely different! We brought in some beautiful gold & purple accents, as well as a few plants to give the room life!

1.jpg

Before:

2.5.jpg

After:

We brightened up the space by replacing the old curtains with white sheers, and took them all the way up to the ceiling to make the room appear larger. (Click here to learn how to make rooms appear larger!)

18.jpg

Before:

3.5.jpg

After:

We added a fun gallery wall, incorporating gold and purple elements to tie in with the shelving accents and large canvas art.

15.PNG

Before:

4.jpg

After:

17.jpg

My client and I were thrilled with the outcome of the office transformation! Click here to see the full gallery of this project.


Shop the Look:

How to Maximize a Small Space

Whether you’ve recently moved into a chic condo downtown or bought your first starter home, adjusting to a small living space can be tough. I’ve lived in my fair share of small apartments, and have picked up a few tips & tricks along the way to maximize small spaces!

1. Keep your space Light & Bright

Choosing a light paint color will instantly make your space feel larger! For small spaces, I recommend Whites and Creams to give the room a lighter base that allows furniture & accessories to stand out. Try to stick to a simple color scheme throughout your space - consistency helps maximize spaces because it creates a more open look, and even-toned rooms trick the eye into thinking they’re more spacious than they are. Also, don’t underestimate the power of lighting! I recommend at least 3 light sources at varying heights in each room.

2. Choose Multi-Purpose Furnishings

When you are working with a small space, maximizing the functionality of your furnishings is key. For example, a tufted storage bench can provide seating in your living room as well as storage for extra blankets & pillows. A dining table can also serve as a desk, and a daybed can be used for both seating & a place for guests to sleep. Win-win!

3. Draw the Eye Up

Install curtains just below the ceiling of your room, ensuring they hang all the way down to the floor. Floor to ceiling curtains draw the eye up, which make your ceilings look higher and your space larger. Also, choose larger-scale art on your walls rather than smaller gallery items that may appear cluttered. I typically recommend hanging art at eye level, however hanging artwork above eye level can give the illusion of taller ceilings in a smaller space!

4. Strategically Place Mirrors

Mirrors can do wonders at making your space feel larger as they reflect light and create the illusion of more space. Hang a large mirror near or across from a window, or in a high traffic area of your home like the entry way. Another option is to angle a mirror towards the focal point in your room as it will create the illusion of more depth. 

5. Choose Acrylic or Glass Furnishings

See-through furnishings don’t take up a lot of visual space, making the room feel larger while still providing functionality. They're also very versatile pieces and can be used in almost any room!

6. Take a Minimalist Approach

A room will appear much larger if there is minimum clutter or accessories lying around. Remove unnecessary items if they don’t serve a purpose or bring you joy.

7. Maximize Storage

If there is unused space under your couch or bed, put it to good use! Risers under the bed will accommodate under bed storage which can be used to store off-season clothing & shoes.

How to Start a Room Redesign

So you’ve made the decision to give your room a fresh look - this is exciting! But where should you start? Getting started can be an overwhelming process, but the below steps will give you the basics you need to start tackling your project.
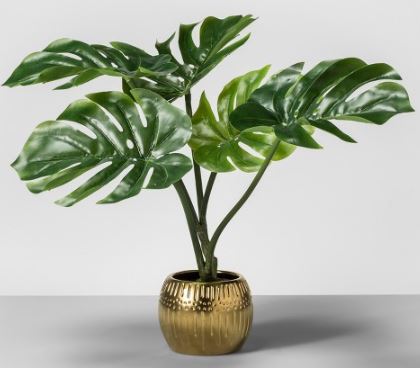
Step 1: Assess the area and answer a few questions:

  • What is this room used for?

  • How do you want this room to feel?

  • What do you love about this space, and what do you want to change?

  • Which items in the room do you want to incorporate into the redesign?

Decide what new items you want for the redesign:

  • Furniture

  • Artwork

  • Rugs

  • Window Treatments

  • Pillows & Accessories

  • Lighting

  • Paint


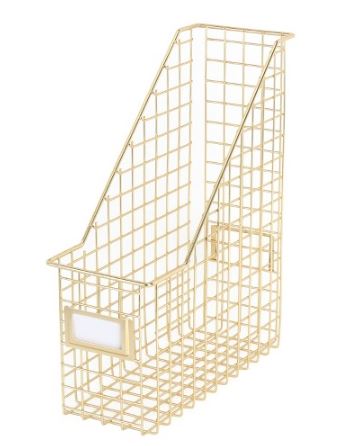
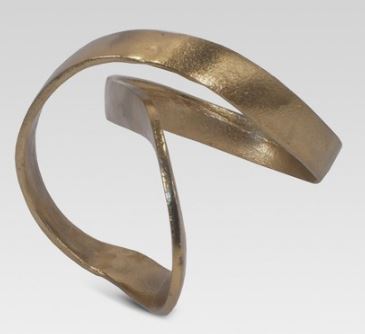
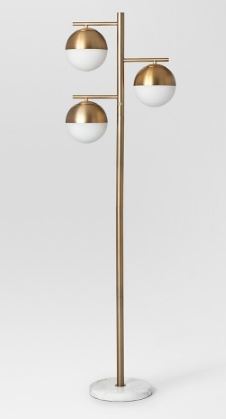
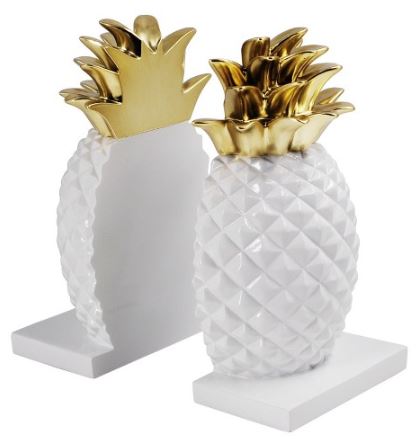
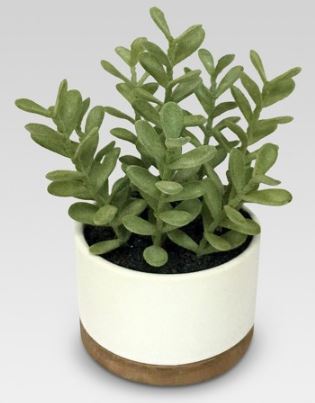
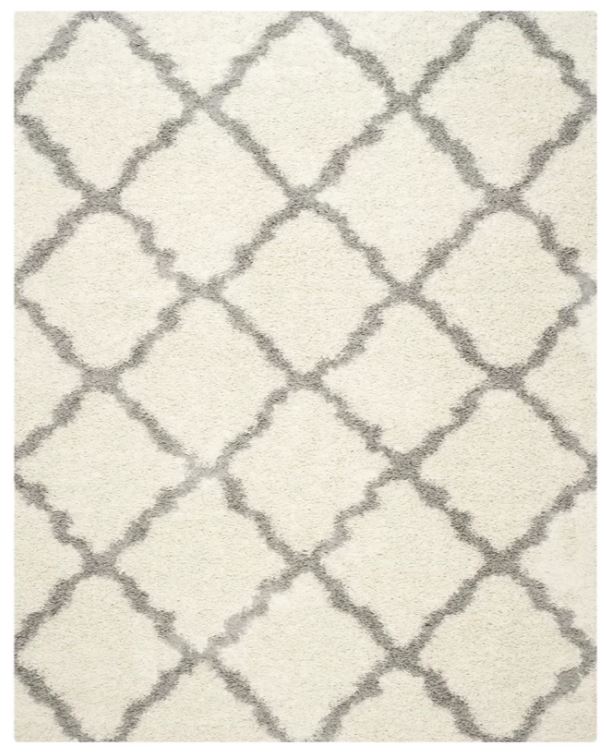
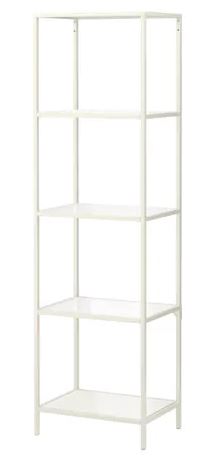
Photo Credit: Target/C&B/Target/Target/ZGallerie/West Elm

Once you’ve answered the questions above and determined what you want to include in your redesign, the fun part starts!

Step 2: Find Inspiration

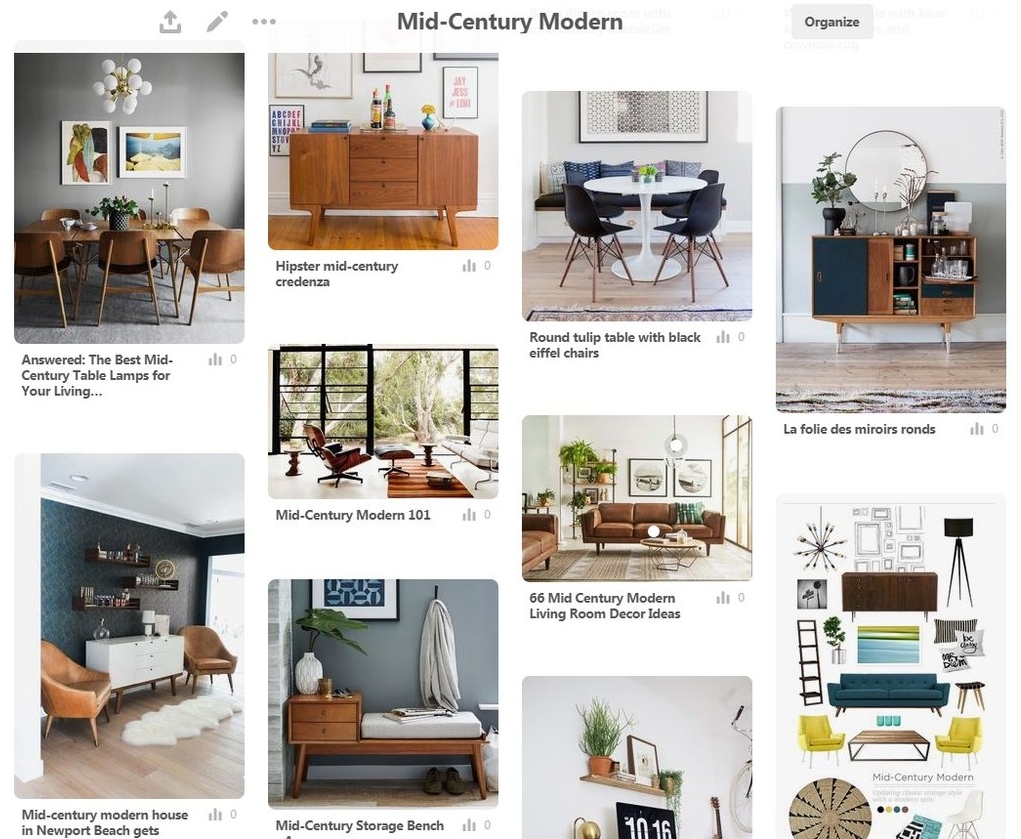
You may have some ideas for your redesign, or you may have no idea what sort of look & feel you want. Either way, looking for inspiration can spark some fun, creative ideas that you would have never thought of! I love using Pinterest to find inspiration and save ideas that I love. You can start with a broad search such as β€œmodern office design” or β€œtraditional living room.” Once you have a better idea of your style, you can search for specific keywords such as β€œwhite lacquer desk” or β€œblue chevron rug.” When you find ideas that you love, save them to a specific Pinterest board for your room. Once you have several images saved, go through your board and remove any pins that don’t work with your overall theme. This will help you narrow in on a specific style and look for your redesign.
*Helpful Tip: Check out the Whittaker Interiors Pinterest page for inspiration for different decorating styles at: pinterest.com/whittakerinteriors

Step 3: Start Shopping

Now that you have an idea of what you want to include in your redesign, and know what sort of style you are going for, you can start shopping! I find it easiest to shop both online & in-stores depending on what you are shopping for. For larger pieces such as headboards, coffee tables or desks, purchasing online and having the item shipped to you is usually much easier than purchasing in-store and then finding a way to get it home. For smaller accents such as pillows, lamps or decorative items, I like to purchase these items in-store so I can see what they look like in person. Plus they’re much easier to transport back home with you!